In this post, we have provided you with a detailed guide on how to make a website on google?
If you operate a company and want to advertise your work, create a professional portfolio for potential clients, or just want to express your opinions, you may want to consider creating your website.
There are plenty of businesses that can assist you in developing and publishing a website. However, Google Sites streamlines the procedure and makes it completely free.
Creating a Google Site does not need a high level of technological expertise. Google offers a choice of themes for every sector and taste, all of which are fully customizable, allowing you to show your material in any way you choose.
The procedure is so simple that you may have a website up and operating in minutes. We’ll walk you through the process.
Contents
- What is Google’s Free Website Builder?
- Choose Website Name and Template
- Edit Website Layout
- Add and Customize Pages
- Upload Content
- Review Website Management Options
- Pick a Domain Name
- Adjust Website Access
- Connect Google Analytics
- Adjust SEO Configurations and Publish the Website
- Frequently Asked Questions: How To Make A Website On Google 2024
- 👉 Are Google websites free?
- ✅ How much does a Google website cost?
- 👉 What is the purpose of Google Sites?
- Conclusion: How To Make A Website On Google 2024
What is Google’s Free Website Builder?
Google’s free website builder is integrated with Google My Business and assists clients in discovering your business online.
When Google creates your website, it utilizes the information in your GMB company profile to create the website’s building blocks. Apart from some little adjustment, you’re pretty much set.
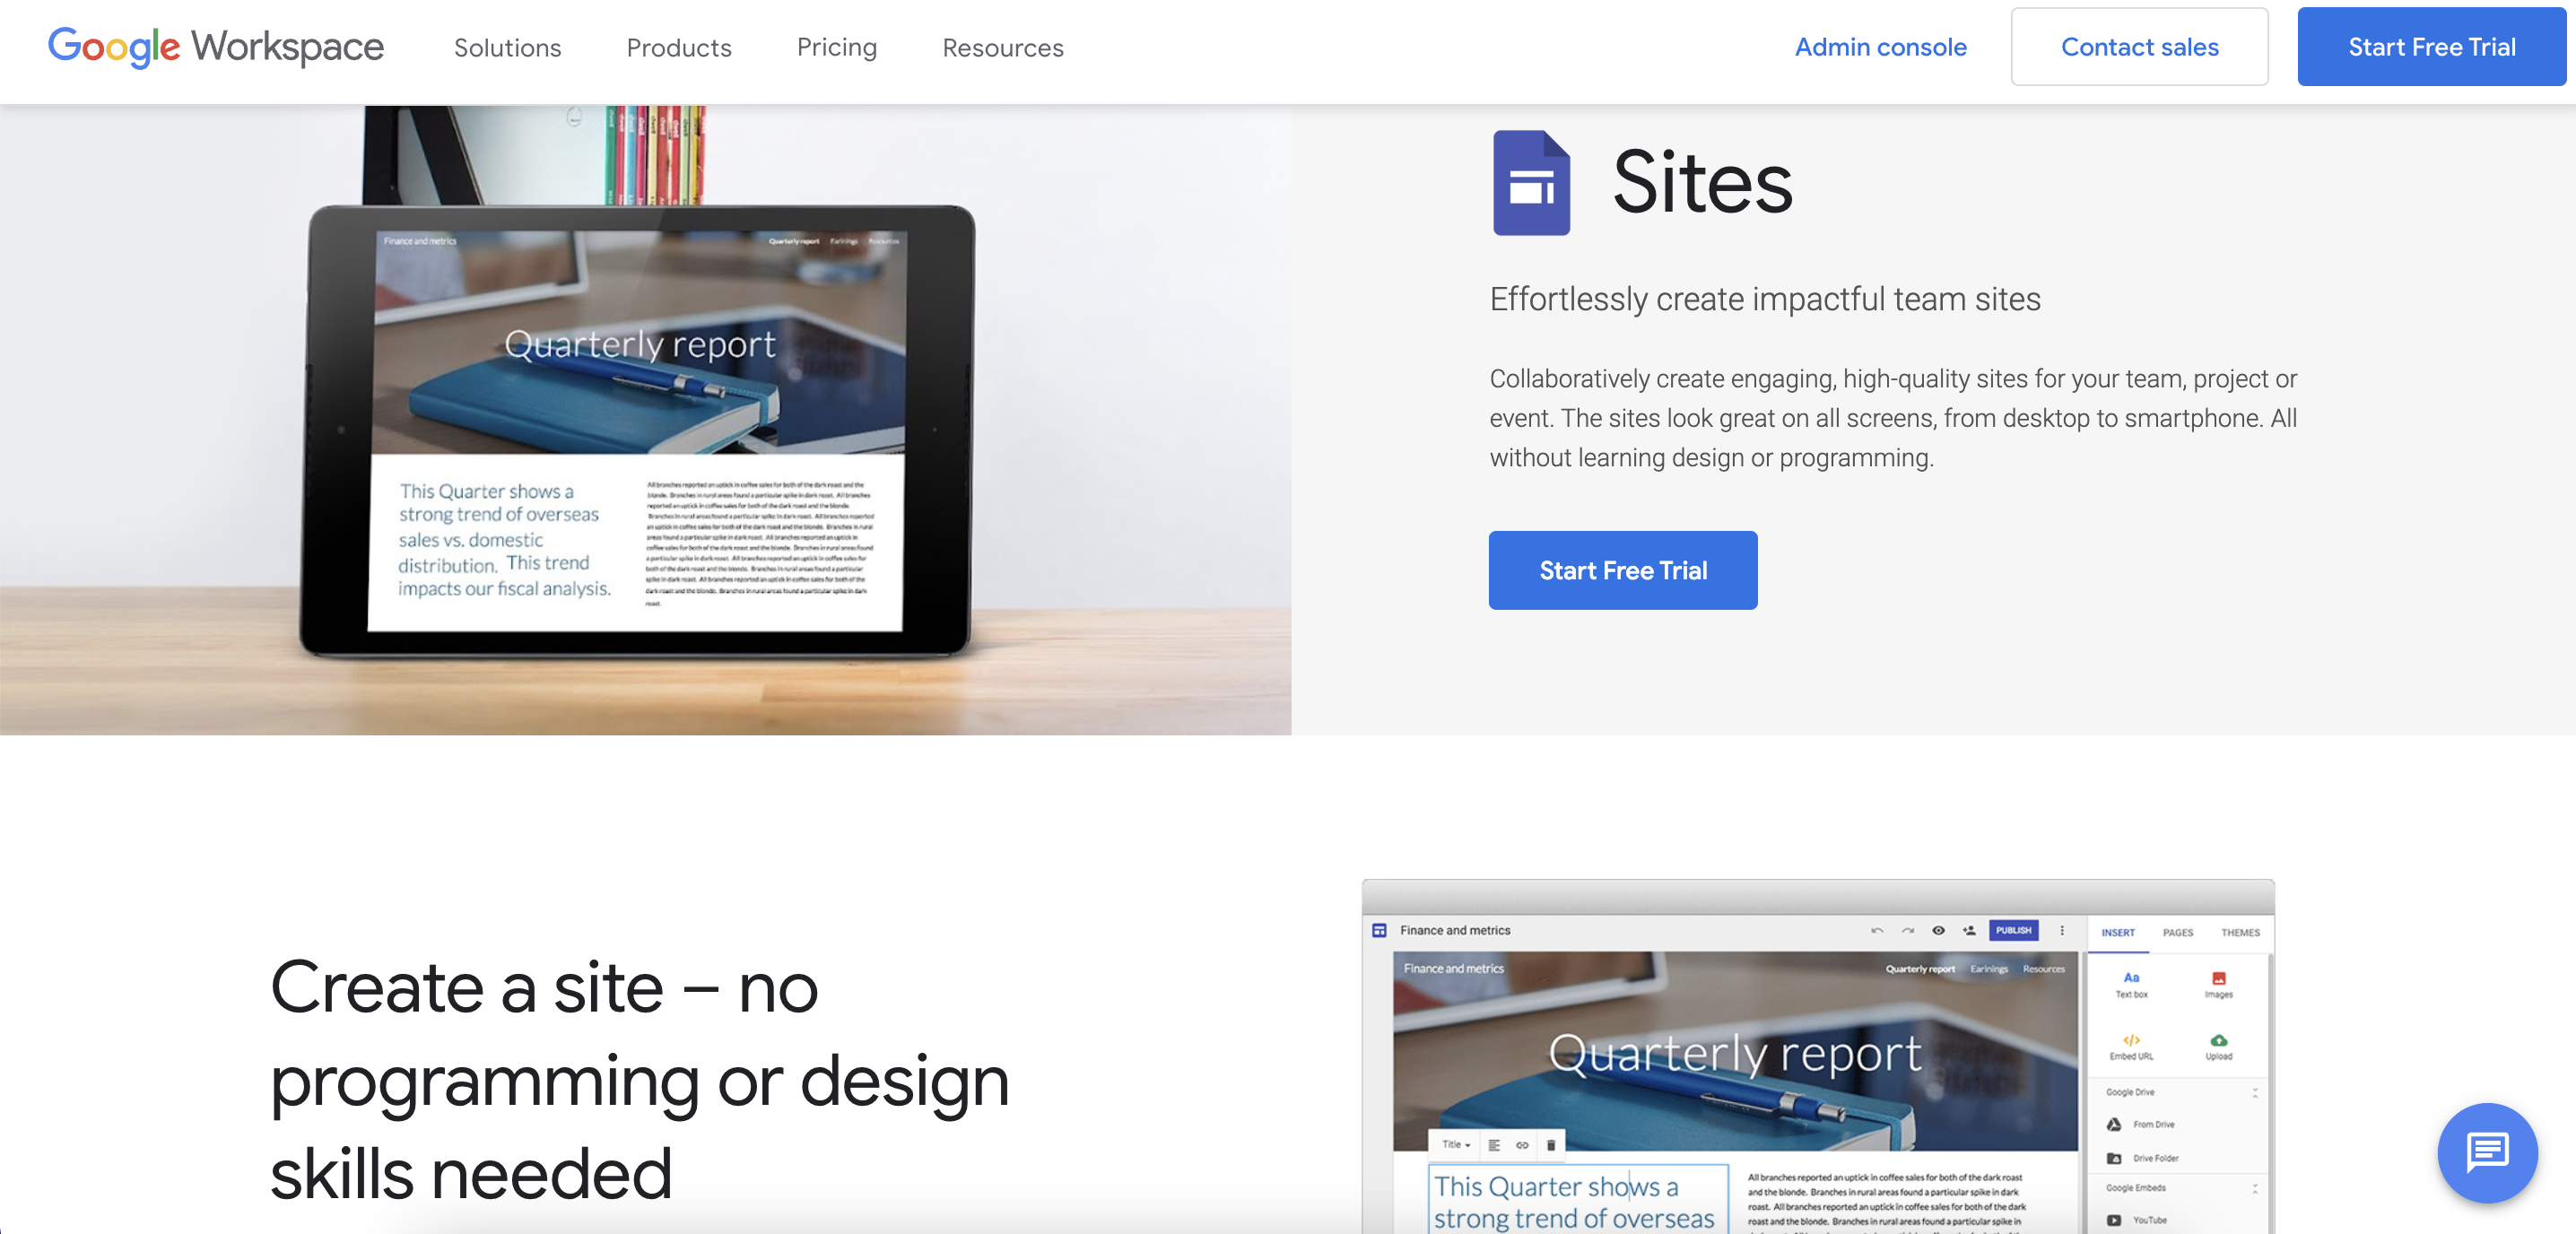
While there is no charge, free Google websites appear professional and provide a variety of current designs.
Google’s website builder is accessible to all users, even newbies. With a free Google website, there is no need for technical skills and no need to worry about comprehensive backups.
Additional advantages of a free Google webpage include the following –
It provides the essentials:
If you’re not interested in the full e-commerce experience, a free Google website will enough to attract a larger audience.
Ease of use:
One of the primary advantages of a free Google website is its simplicity, as well as the fact that it produces attractive web pages. For example, even the free edition of WordPress, with its menus, pages, and sub-menus, might seem intimidating to an absolute novice.
Not every prospective consumer is on social media, and many may be on platforms other than the ones you like.
Having your website, where people can Google your name or the product you offer and get your information without having to join Facebook or Twitter, may help you attract those consumers.
Choose Website Name and Template
After logging into your Google account and launching the website builder, you’ll be sent to the control panel. The following are the steps that must be done there –
Step – 1: Specify your company’s name — to do so, click the title.
Step – 2: Change the header picture – you may either use one of the standard photos provided by Google Sites or upload your own;
Step – 3: Choose an appropriate header style (Cover, Large Banner, Banner, or Just the Title);
Step – 4: Select a template – go to the “Themes” area of the comprehensive menu located in the upper-right corner of the screen;
Step – 5: Choose the header color and font style in this area — the various possibilities are shown under “Themes.”
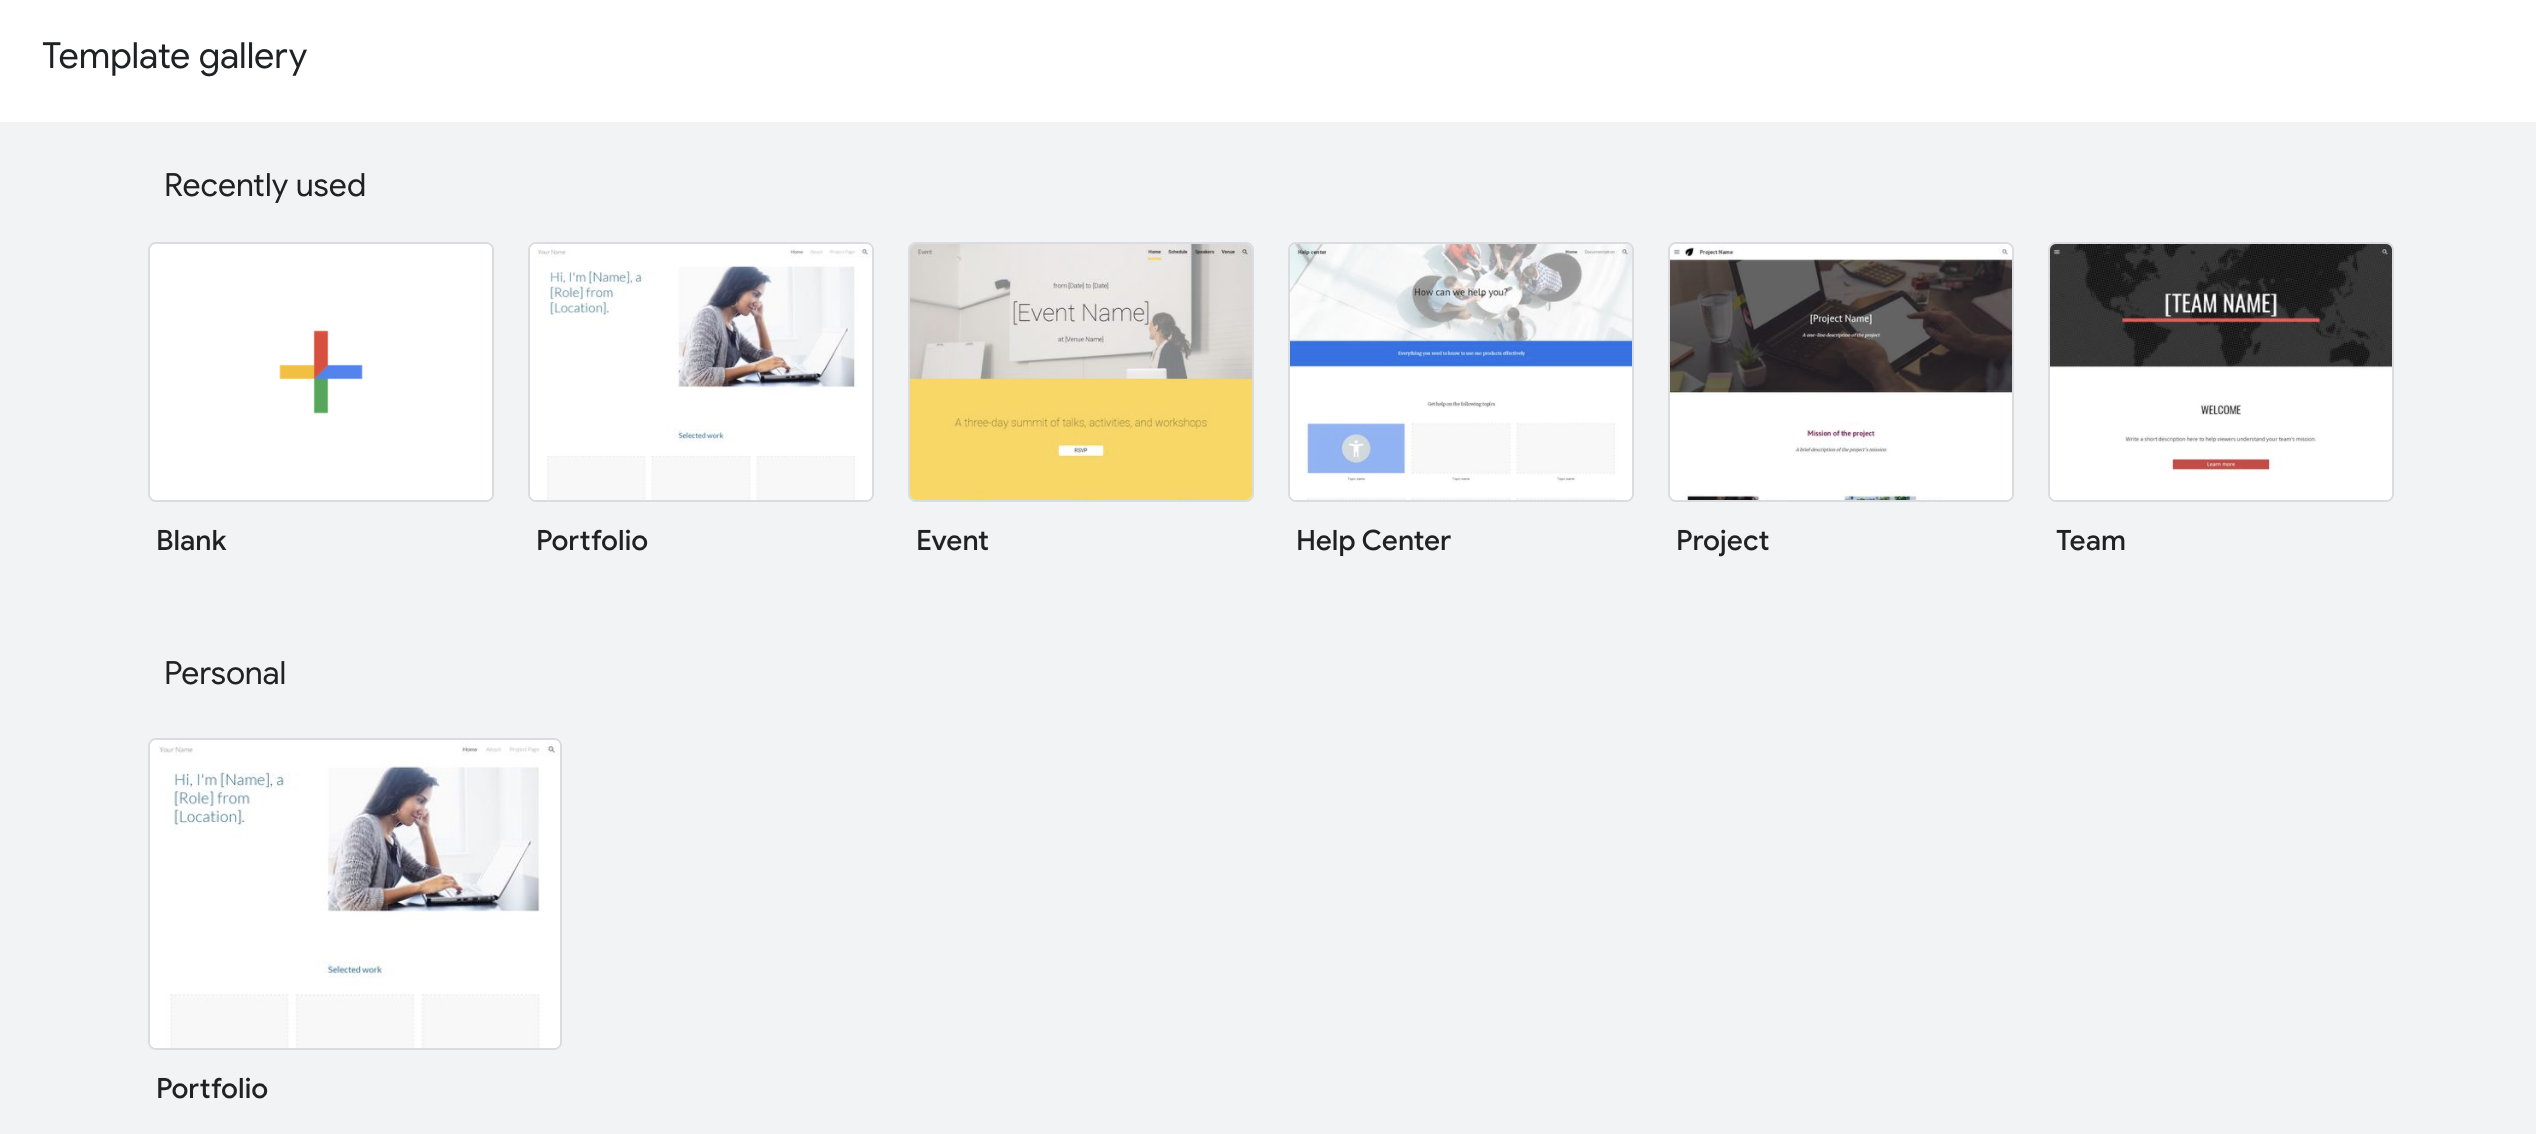
In terms of templates, Google Sites does not provide a preset template for new websites, allowing users to maintain complete control over their creations.
Rather than that, the website builder allows you to choose from an existing theme collection. While the choice of themes is limited, there is still enough to select from.
Edit Website Layout
While developing your website, you’ll have the option of selecting and editing your website’s layout –
Step – 1: Navigate to the “Layouts” section of the right-hand menu;
Step – 2: Choose your preferred layout variation — there are a total of six available. These include layouts with one, two, three, and four columns;
Step – 3: Select the one that best meets your requirements to replace the default layout;
Step – 4: Begin altering the block by adding text and pictures.
You may upload as many photographs as necessary to give niche-related information — it’s simple, painless, and quick. Simply ensure that you choose an appropriate layout that includes all necessary information.
Add and Customize Pages
Once you’ve decided on a layout, it’s time to start adding new website pages. Google Sites enables the creation of an endless number of pages with varying implications and categories. Complete the following steps to add a page:
Step – 1: Navigate to the “Pages” tab in the control panel’s right-side menu;
Step – 2: Click the “+” button to the right;
Step – 3: Give the page a name or/and indicate the custom path where it should be inserted;
Step – 4: Then, click the “Done” button;
Step – 5: Increase the number of pages as necessary or replicate current ones to save time and effort. Additionally, you may hide the page from navigation;
Step – 6: Add subpages to existing pages as appropriate and give them specific characteristics.
You can construct and add ordinary web pages for displaying your content and attaching documents, announcements for posting corporate news and updates, start pages, list pages, and file cabinets for storing, managing, and sharing files.
Upload Content
After customizing the pages, it’s time to move on to one of the most time-consuming, responsible, and hefty aspects of the website construction process – content uploading. To do this, you should take the following steps:
Step – 1: Navigate to the control panel’s “Insert” tab;
Step – 2: Choose the sort of material that will be added. The most appropriate solution will depend on the original storage location of the data;
Step – 3: The “Text Boxes” area enables you to create and change the text (customize font styles and settings, including links, and so on);
Step – 4: The “Images” area allows you to add your images or browse through the system’s library;
Step – 5: The “Embed” option enables the material to be embedded through code integration;
Step – 6: “Drive” enables you to upload files directly from your device;
Step – 7: Choose the sort of material to upload to the web page – the “Insert” button reveals a variety of options that satisfy the majority of users’ requirements: charts, forums, sheets, slides, docs, calendar, map, YouTube, divider, image carousel, and contents. Whichever aspect you pick, you may further personalize it to fit your website’s niche.
Step – 8: Select and integrate standard “gadgets” (as necessary) – calculators, news feeds, Google Search Console for improved search engine optimization of pre-built projects, Google Analytics, and so on.
As a Google-powered website builder, Sites enables you to integrate any G Suite extensions that you deem required or valuable for your project.
Bear in mind that no third-party add-ons or plugins are necessary to integrate the appropriate pieces – just browse the list of extensions and choose the ones you desire.
Review Website Management Options
Before launching your new project to the public, you should create and configure certain important website features and administration choices.
To link site statistics, upload or pick logo/favicon pictures, explore viewer tools, alter custom website URLs, configure the announcement banner, and give website sharing privileges, go to the “Settings” area.
If you’re still unsure about anything here, just click the “Take a Tour” button to explore what’s hidden behind the system settings.
If you want to collaborate on website development with a group of web professionals, the system enables you to add several participants to the project. Additionally, you may subscribe to recent project modifications to keep informed of any website revisions and changes.
Whatever adjustments you choose to make, they are all accessible – either via the related “Settings” section or through the project’s control panel.
Pick a Domain Name
There is one more step before publishing it on the web. You must first choose a domain name for your project.
If you already own a domain name, you may use it to create a website.
Another alternative is to get a brand-new domain name from Google – go to the “Custom Domains” part of the “Settings” section and input the name you want to use for your project.
Bear in mind that your domain name should be memorable and simple to recall. It should be not only relevant to your company area, but also distinctive and memorable to your target audience. However, keep it short to prevent bloated URLs.
Adjust Website Access
There is an easy way to share the completed project with other people. To properly configure access, do the following steps –
Step – 1: Navigate to the control panel’s “Share with Others” tab;
Step – 2: Select the Draft Mode to keep your website unpublished while it is being developed;
Step – 3: To restrict other people from accessing your project, use the “Private” option;
Step – 4: Determine which individuals or groups of users will have the ability to modify the project;
Step – 5: Publish the project to ensure that it is available to everybody;
Step – 6: If you desire to invite others to collaborate on editing the website with you, the system enables you to do so by defining their email addresses and sending invites to them;
Step – 7: If you wish to protect your project, you may check the box that prevents other editors from publishing it, modifying access privileges, or adding new persons without your knowledge;
Step – 8: Utilize the Preview option before publishing your final project to ensure that it displays correctly on desktop, tablet, and mobile devices.
Overall, the website sharing option is quite beneficial for individuals who operate in teams or for users who are engaged in the building of custom-designed websites for customers.
Connect Google Analytics
Google Sites enables you to integrate Google Analytics with your pre-built project. This is a necessary feature if you want to keep informed about the critical characteristics of your project and the elements that impact its performance and SEO ranking.
Complete the following steps to link your website to a Google Analytics account and get insights/metrics on project usage:
Step – 1: Navigate to the Configuration section;
Step – 2: Navigate to the “Analytics” tab;
Step – 3: Enable analytics by providing the measurement/tracking account ID.
Google Analytics integration enables you to monitor traffic flow and fluctuations, the number of users who visit your website over a specified period, conversion rates, traffic destinations, and sources, website abandonment rates, and a variety of other critical parameters that can ultimately make or break the performance of your entire website.
Being aware of these qualities can assist you in resolving any issues quickly and avoiding more catastrophic effects.
Adjust SEO Configurations and Publish the Website
There is one more critical step you should take before publishing your website online. Now, we’re going to discuss search engine optimization.
Google Sites enables you to customize the following main SEO elements to guarantee your newly established project achieves a good search engine ranking:
Step – 1: Navigate to the “Settings” section.
Step – 2: Locate the SEO tab;
Step – 3: Complete the primary fields about your website’s SEO ranks and double-check the information;
Step – 4: It is advised to link Google Search Console since this will make indexing your project simpler for search engines.
Step – 5: Once your website is all ready for publishing, just click the “Publish” button and watch the magic happen!
Quick Links:
Frequently Asked Questions: How To Make A Website On Google 2024
👉 Are Google websites free?
Google's free website builder is integrated with Google My Business and assists clients in discovering your business online. While there is no charge, free Google websites appear professional and provide a variety of current designs. Google's website builder is accessible to all users, even newbies.
✅ How much does a Google website cost?
Google Sites is a fully free service that comes bundled with a Google account. On personal accounts, all features and functions are free (except 24/7 customer assistance).
👉 What is the purpose of Google Sites?
Google Sites is Google's free website builder. You may collaborate on website creation by granting another Google user edit access. Google Sites integrates with other Google products, such as Docs, Sheets, and Slides. Additional articles are available in Business Insider's Tech Reference collection.
Conclusion: How To Make A Website On Google 2024
Nowadays, having an internet presence is a need. If potential consumers cannot locate your website, you are likely to lose business.
However, developing a website does not need a large financial investment or technical knowledge. Rather than that, you may begin by creating a free Google website and configuring it in a few simple steps.
Once you’re online, you can immediately begin profiting from more leads, consumers, and conversions—all of which are necessary for raising your business’s success rate and creating a profitable operation.