Learn how to get verified on Facebook? In this post, we have shared the various ways to get verified on Facebook.
You’ve probably seen those little blue checkmarks next to some of your favorite brands on Facebook. That little blue check means that the page has been verified by Facebook as a legitimate business, public figure, or entity.
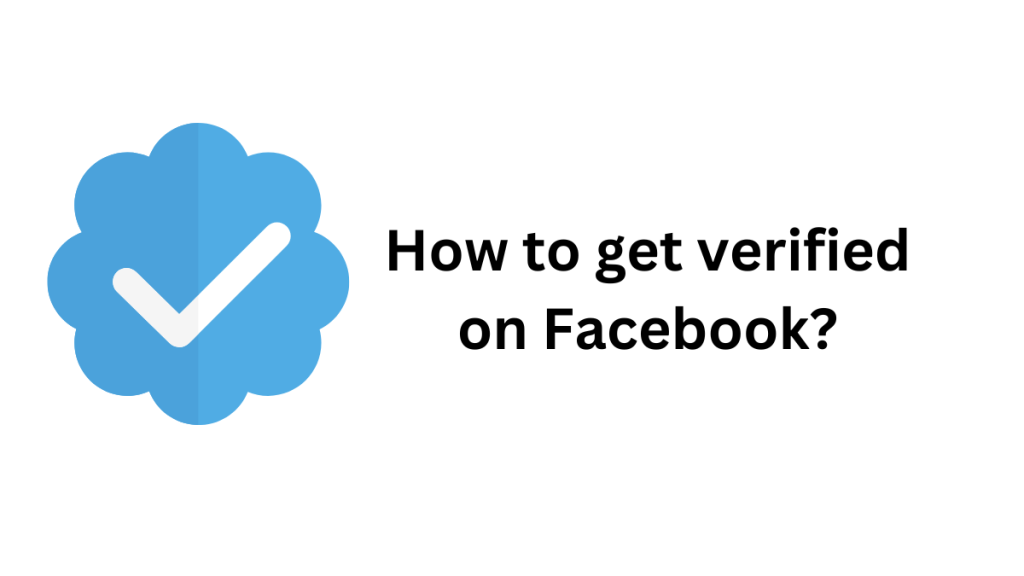
Getting verified on Facebook can be a great way to add credibility to your Page or profile. When people see that little blue or gray checkmark next to your name, they’ll know that you’re an authentic, verified member of the Facebook community.
And being verified can also help you get more opportunities, like appearing in search results and being eligible for a profile video.
Contents
What is Facebook Verification?
Facebook verification is the process of verifying that a page or profile on Facebook is authentic and represents a real person, business, or entity.
Once a page or profile has been verified by Facebook, a blue verification badge will appear on their profile or page.
Why Should I Get Verified on Facebook?

There are a few key reasons why you might want to get verified on Facebook.
First and foremost, verification adds an extra layer of authenticity to your account, which can help build trust with your followers. In addition, verified accounts are more likely to show up in search results, which means more people are likely to see and interact with your content. And last but not least, verified accounts also get access to certain features that non-verified accounts don’t, like the ability to run ads in some countries.
How Do I Get Verified on Facebook?
Unfortunately, there’s no one-size-fits-all answer to this question—the process for getting verified on Facebook can vary depending on who you are and what kind of account you’re trying to verify.
However, in general, the process usually involves submitting an online form with some basic information about yourself or your business, as well as providing proof that you meet the eligibility requirements for verification.
For example, if you’re trying to verify a business page on Facebook, they may ask you to submit documentation like a business license or tax return.
- Log into your Facebook account and go to your settings.
- In the left-hand column, click on “Request Verification.“
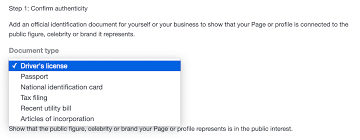
- Enter your full name and provide the required form of identification. Acceptable forms of ID include a government-issued ID, driver’s license, passport, or birth certificate.
- Upload a copy of your ID and click submit.
- Facebook will review your request and get back to you within a few days.
- Once you’ve been verified, you’ll see a blue checkmark next to your name on your profile page.
Before you begin the verification process, there are a few things you’ll need to have on hand:
- A public Page or profile: If your Page or profile isn’t public, anyone who tries to view it will get an error message saying that it’s not available. To change the privacy settings for your Page or profile, go to the Privacy tab in your Settings menu.
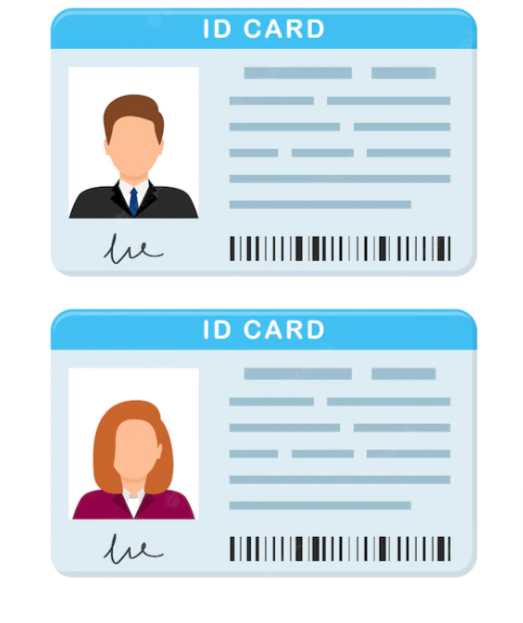
- Proof of identity: You’ll need to submit some form of government-issued ID as part of the verification process. This could be a passport, driver’s license, national ID card, or residency permit. If you’re submitting an ID that isn’t in English, make sure to include a translation of any text that appears on it.
- A clear photo of your face: You’ll also need to upload a recent photo of yourself so that Facebook can confirm that you’re the same person who owns the ID you submitted. Make sure the photo is well-lit and shows your full face—no sunglasses or hats allowed!—so that there’s no confusion about who you are.
- A phone number or email address: You’ll need to provide at least one way for Facebook to contact you during the verification process. A phone number is preferred, but an email address will work too.
- An internet connection: Obviously, you’ll need to be connected to the internet in order to fill out Facebook’s online form and submit your verification request.
Conclusion
A verified account on social media platforms like Facebook adds an extra layer of authenticity and trustworthiness—something that is especially important if you’re a public figure, business, or brand. Luckily, getting verified is relatively simple and only takes a few minutes of your time.
Just make sure your account meets Facebook’s eligibility requirements, complete the verification form, and wait for their decision. With any luck, you’ll have that coveted checkmark in no time!
The process of verification may seem daunting, but it’s actually not too difficult. By following these five steps, you can submit a request to Facebook for verification. Once Facebook reviews your request, they will determine whether or not to verify your account.
If you are verified, you will see a little blue or gray checkmark next to your name on Facebook, indicating that your account is authentic.
Also Read: